Deploying a New Dell PowerEdge Server: From TOR to Integration
As part of our infrastructure expansion initiative, I recently completed the installation and deployment of a high-performance Dell PowerEdge server. This project spanned the entire lifecycle—from drafting the technical requirements to physical installation and integration with our existing storage systems.
Project Overview
The primary objective was to introduce a new host server into our environment to support growing compute demands, virtualization scalability, and future infrastructure initiatives. The selected server—Dell PowerEdge, dual-socket with 64 cores—was chosen for its performance, reliability, and compatibility with our enterprise systems.
1. Drafting the TOR (Terms of Reference)
The process began with the preparation of a detailed Terms of Reference (TOR) document. This included:
- Technical specifications for CPU, memory, expansion, and storage.
- Justification for compute requirements based on projected workloads.
- Environmental and power considerations for the data center.
- Compatibility with our NetApp storage infrastructure and virtualization platforms.
The TOR served as the foundation for procurement, ensuring that all stakeholders and vendors had a clear understanding of the requirements.
2. Procurement and Delivery Follow-Up
Once the TOR was approved, I closely followed up on the procurement process:
- Coordinated with the procurement team and vendors for quotation and lead times.
- Validated part numbers, server configurations, and warranties.
- Ensured timely delivery and prepared the physical space and rack in advance.
The server arrived as expected, and pre-installation checks were performed to verify all components were included and undamaged.
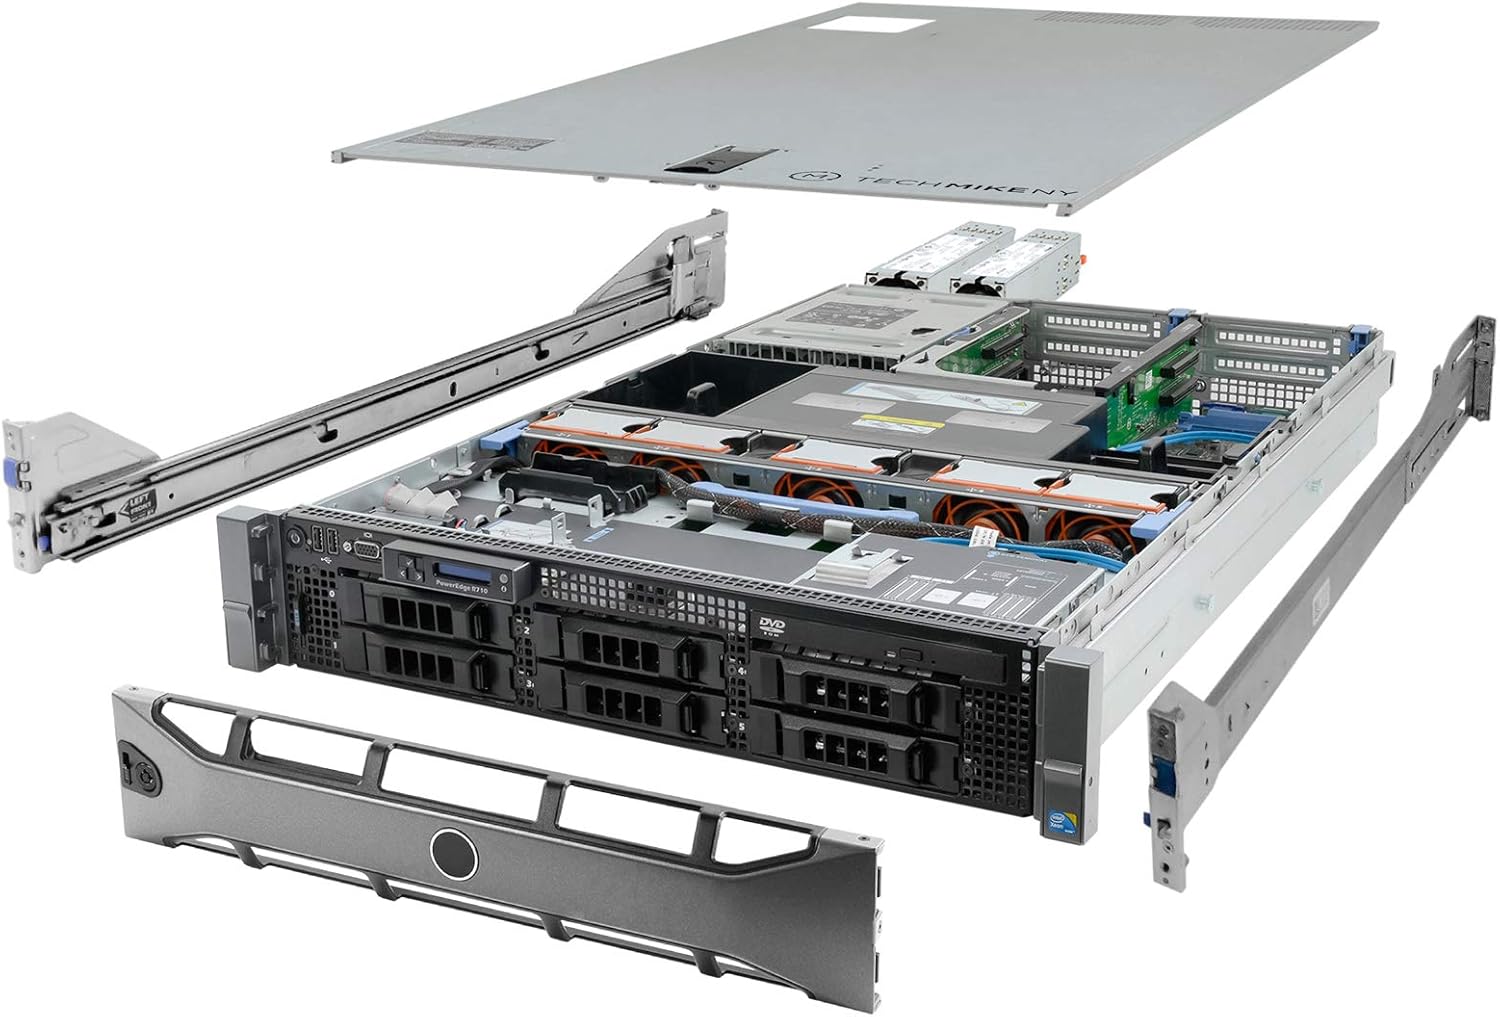
3. Installation and Hardware Setup

- Rack Mounting the Dell PowerEdge server in the designated server rack.
- Installing dual processors and verifying the 64-core capacity.
- Adding memory, storage drives, and connecting to power and networking.
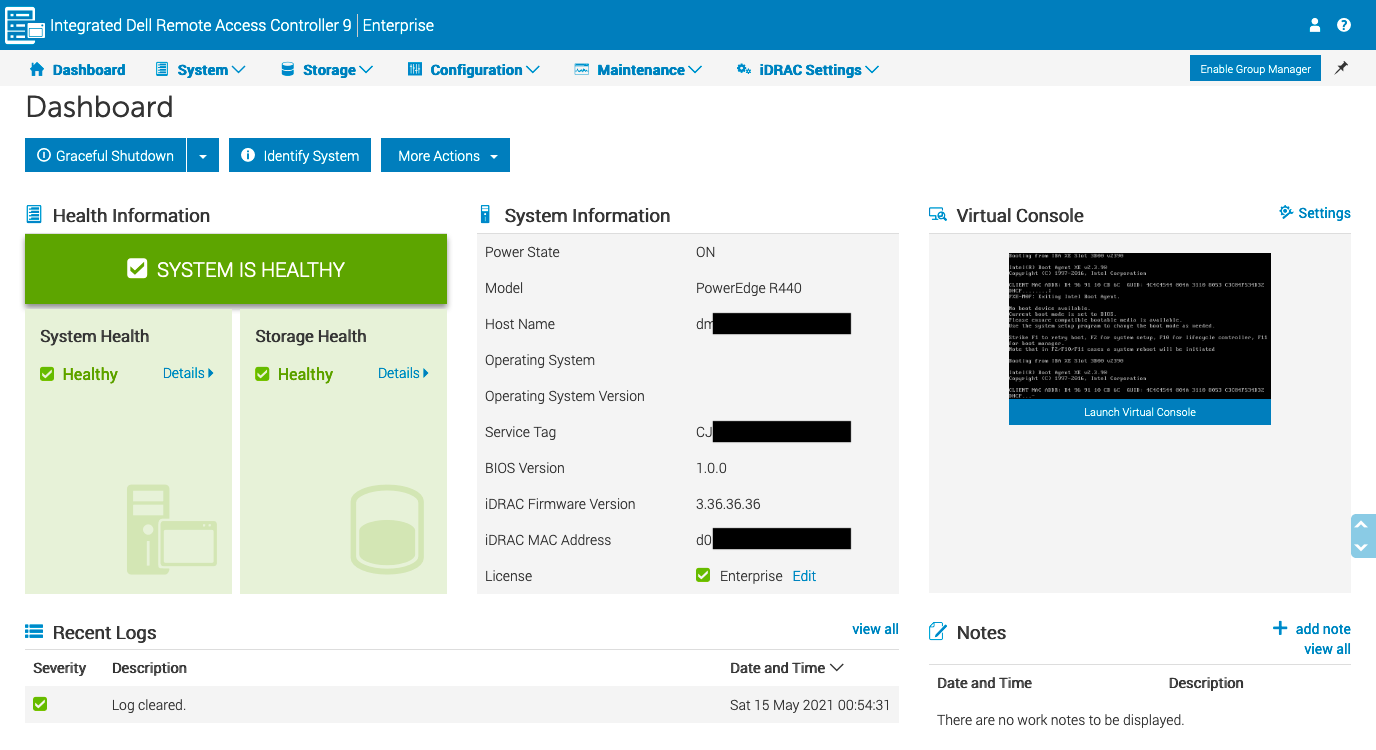
- Performing firmware updates and initial BIOS configuration.
This ensured the server was fully operational and ready for OS or hypervisor installation.
4. Integration with NetApp Storage
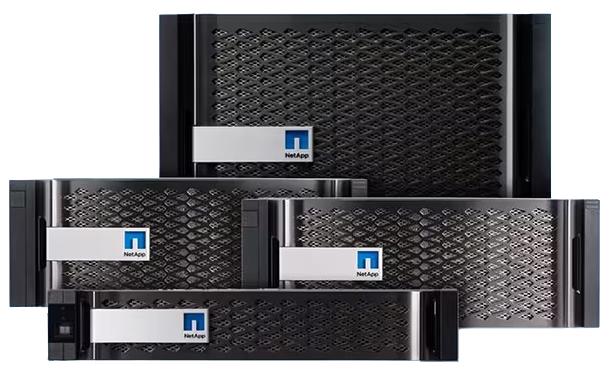
To align the new server with our existing infrastructure, I integrated it with our NetApp storage system using ISCSI:
- Configured HBA/network interfaces for storage access.
- Mapped the necessary LUNs or volumes on the NetApp.
- Ensured multipathing and storage performance tuning were in place.
- Validated successful mounting and availability of shared storage to the host.
5. Next Steps
- Joining the host to existing cluster environment on VMware.
- Monitoring performance and power consumption.
- Setting up automated backup policies and monitoring alerts.
Conclusion
This deployment marked another successful infrastructure upgrade. By handling every phase—from TOR drafting to post-installation validation—I ensured the new Dell PowerEdge host server was deployed smoothly and aligned with our performance and scalability goals. With its 64-core capacity and seamless integration into our NetApp-backed storage environment, this server is a key asset in supporting our current and future IT operations.